Strobes!

Hey guys, The color changing strobes for the Positron proton pack kit arrived today!

The rest of the boards for the kit will be arriving the second week of October and will ship the following! Sorry about cutting it so close to Halloween but a serious issue came up at the last minute which needed to be resolved.

img_3798

Introducing: The Firecricket!

https://www.kickstarter.com/projects/rabidprototypes/firecricket-bring-your-replica-props-to-life

The Firecricket is an Arduino compatible light, sound, and motion controller for your replica props which you can program yourself!

It features a 32bit 48MHz processor with 16K of ram, a 2.5W audio amplifier, a MicroSD slot for storing sound effects, images, and configuration files, and a MOSFET with flyback diode for driving high power inductive loads like vibration motors, or high power LEDs.

You can use it for cosplay, Halloween costumes and decorations, movie props, toys,  or even simple robots!

Available now on Kickstarter!

Positrons and Neutrinos and Taus, oh my!

It’s been a busy week!

Not only was the Kickstarter campaign for the Neutrino 2.0 successfully funded, but I also got the Tau bootloader working finally, and I put in orders for both with Macrofab!

The Neutrino 2.0 and Pixel are both on sale now, and the Tau is also currently available for pre-order!

I have also just put in the first PCB order for the Positron kit:  50 RGBW strobes!  I will be putting in the remaining orders over the next week or so.

The good news is, it’s not too late to pre-order for the first run!  A few kits from the first batch are still available, so you still have time to get in!  Once those are gone, I’ll be taking orders for run two, but the second run won’t be ready until after Halloween!

And don’t worry when placing your order if it is the first or second run, I will post a notice here and on the order page once the remaining boards from the first run are gone.

Pre-orders Extended!

Hey guys,

Just wanted to let you know that I’ve decided to extend the pre-order period for the Positron proton pack kit until the end of this month.

Once I put the order in for the kits (the first week of August) it will take 3-4 weeks for the kits to be manufactured, and I estimate it will take another week or two ship them all out, so you can expect delivery by mid-September.

Now taking pre-orders for the first run of the Positron Proton Pack Kit!

Hey guys,

The kit is now ready for manufacture and I’ve got two new demo videos for you. You’ve got around two weeks to place your order if you want to get in on the first run!  I’ll be posting a tally here as new orders come in.

http://rabidprototypes.com/product-category/kits/

Once I put in the order, it will take four to six weeks for the kits to be manufactured, then it will take around a week for them to ship.

Please share the link and videos with your friends!

Frequently Asked Questions

Q: Do I get the whole proton pack for that price?

A: No.  The Positron is a light and sound electronics kit for a proton pack, but the pack and thrower are not included!

Q: Does this kit come with switches?

A: Yes!  The kit comes with all the switches and push buttons you need, minus the power switch harness, which is sold separately.  It also comes with a potentiometer for volume control, and a vibration motor!

Q: Does the kit come with speakers or a battery?  Which speakers and battery should I use?

A: You must purchase those separately, and I don’t sell them, but I’ve made a couple blog posts explaining how to choose a battery and speakers, and which brands are the best!

Which battery should I use?

“What speakers do you recommend?”


Positron Thrower Install

Hey guys,

Just thought I’d post some photos of what it looks like when you install the Positron kit in your thrower:

IMG_3698 IMG_3700

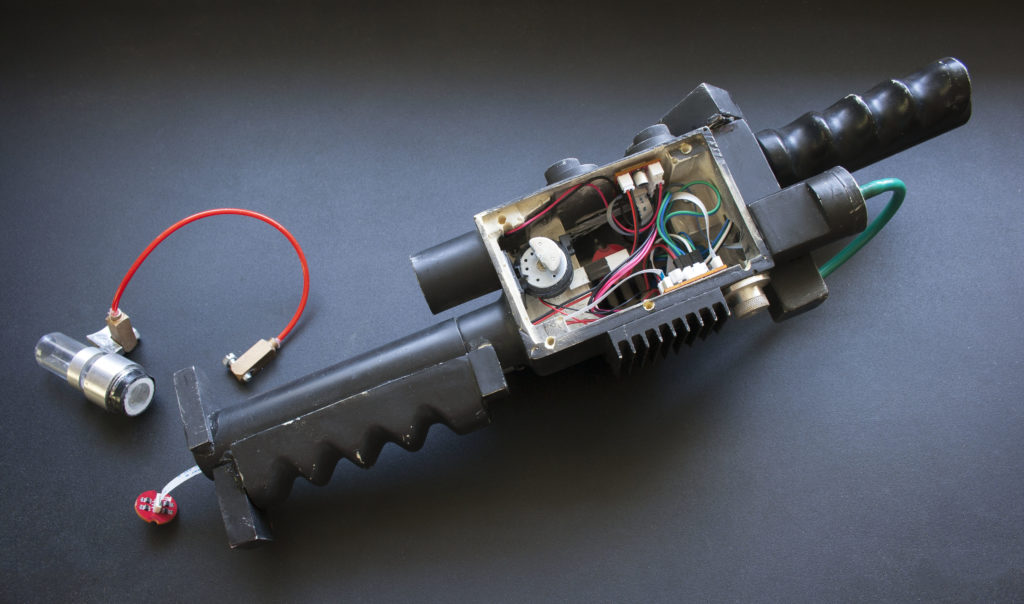
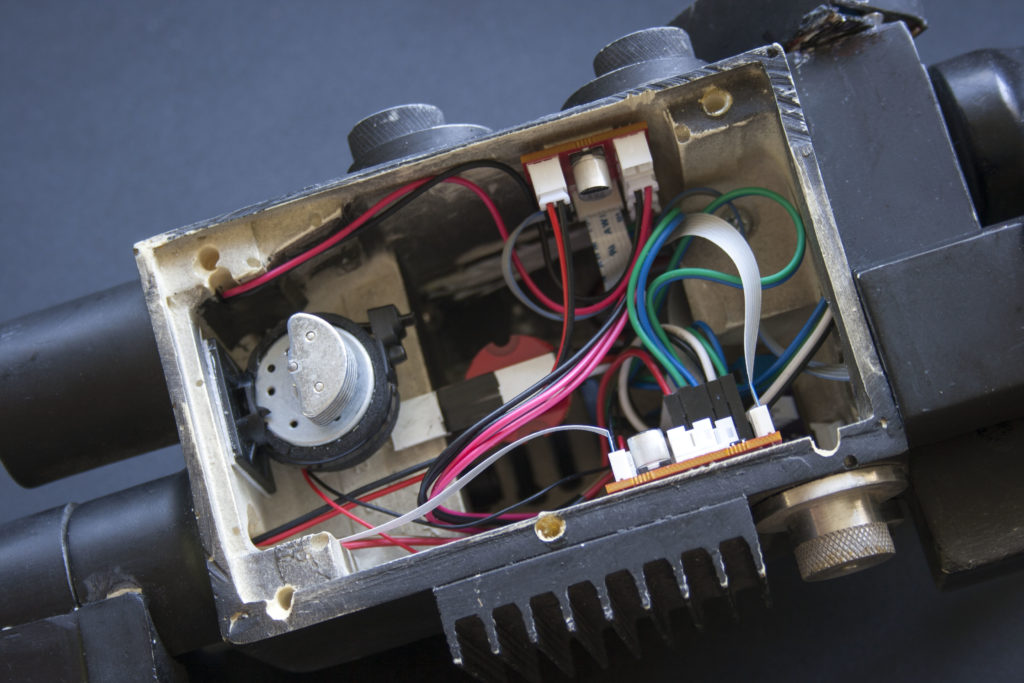
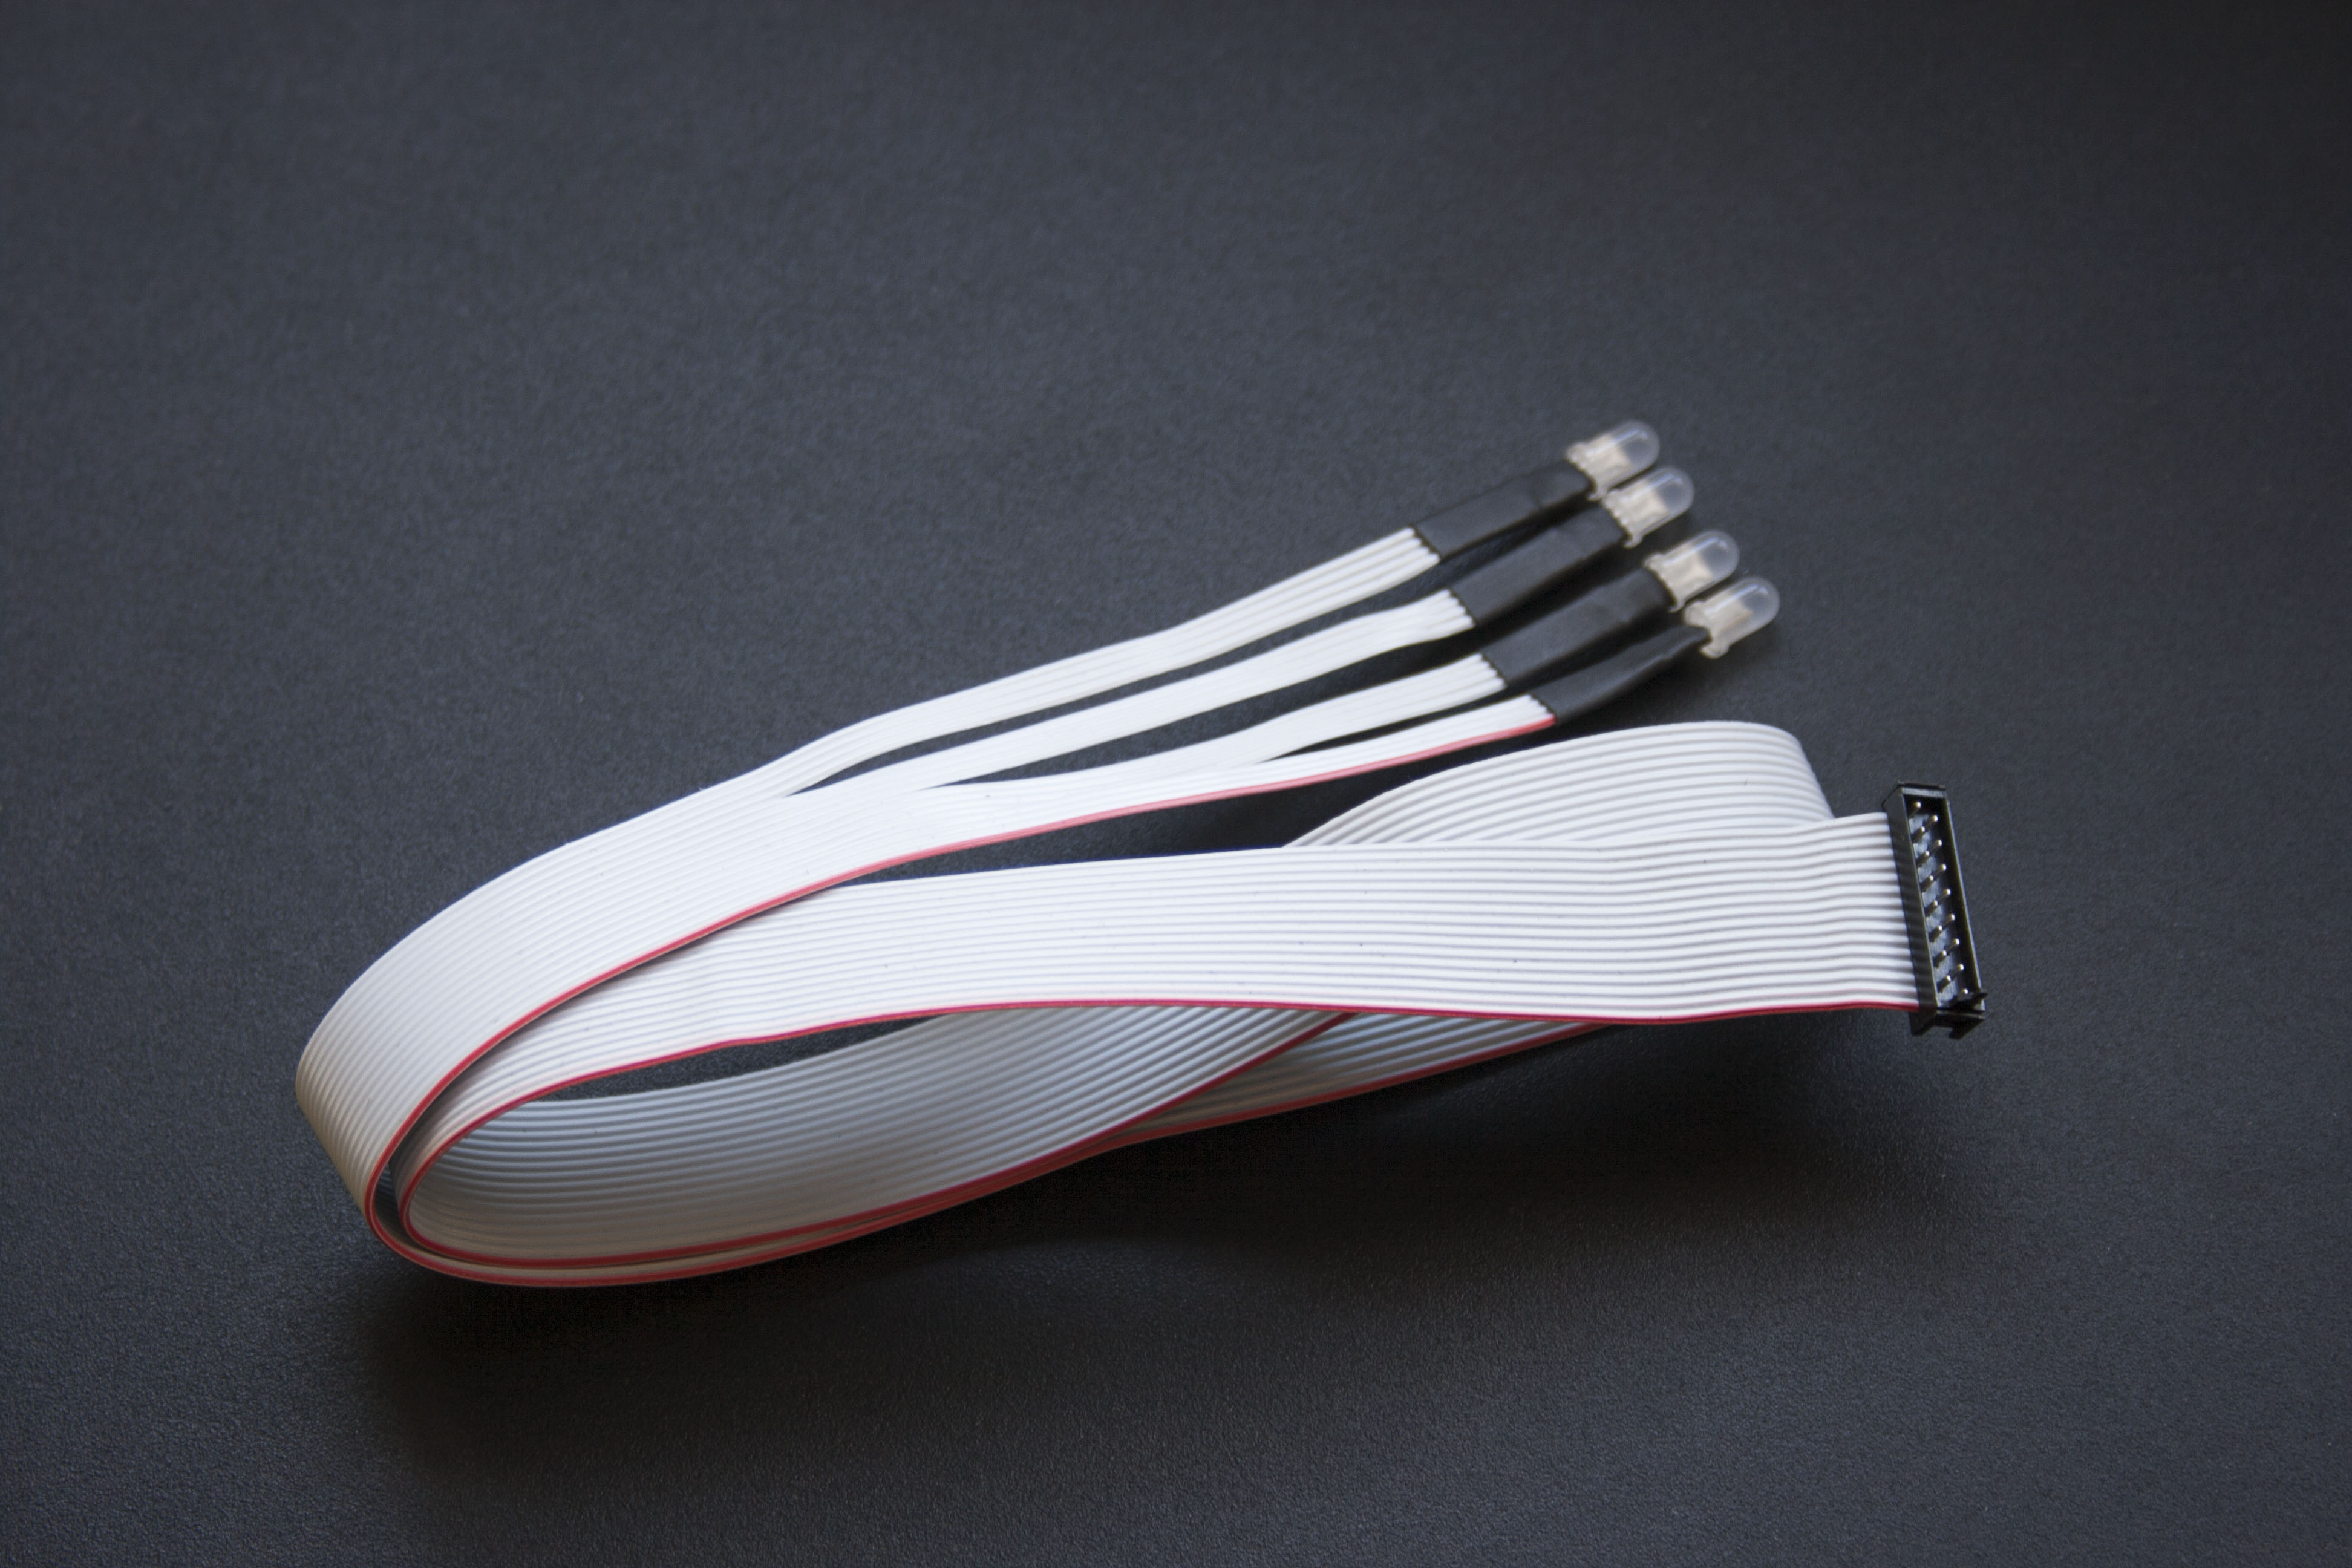
Note that this install was an upgrade, so I used the original switches that were already in place with their original wires.  I know many of you will be upgrading, so I used the same type of connectors for those.  The LEDs you’ll want to replace, since the new ones are soldered onto the wires instead of being in those sockets that they would often fall out of.

Also note that this install includes the optional super bright grille light.  Normally, I would recommend you find or make some kind of reflector to put in the grille to protect the electronics from the elements but here since I was pressed for time, I just installed it on a little plastic tab by the vibration motor that I attached with double sided foam tape.

In addition, I’d like to point out the screw that is holding the rear handle in place.  Your thrower may not have a screw there, but you should take note of any metal bits that may come into contact with the PCBs.  In this case I had to trim that screw to make it shorter and then I put a couple layers of tape over where it is inside the handle because the extension module that connects to the Cat5 cable and provides connections for those white flat flex cables and the super bright grille light sits inside the handle.  Alternatively, I could have gotten some large diameter heat shrink and heat shrunk that module but that would have made it impossible to unplug any of the cables from it later.  If you have a metal thrower I suggest using two layers of double sided foam tape to protect the underside of the PCBs.  I have used that here to attach the boards to the sides.

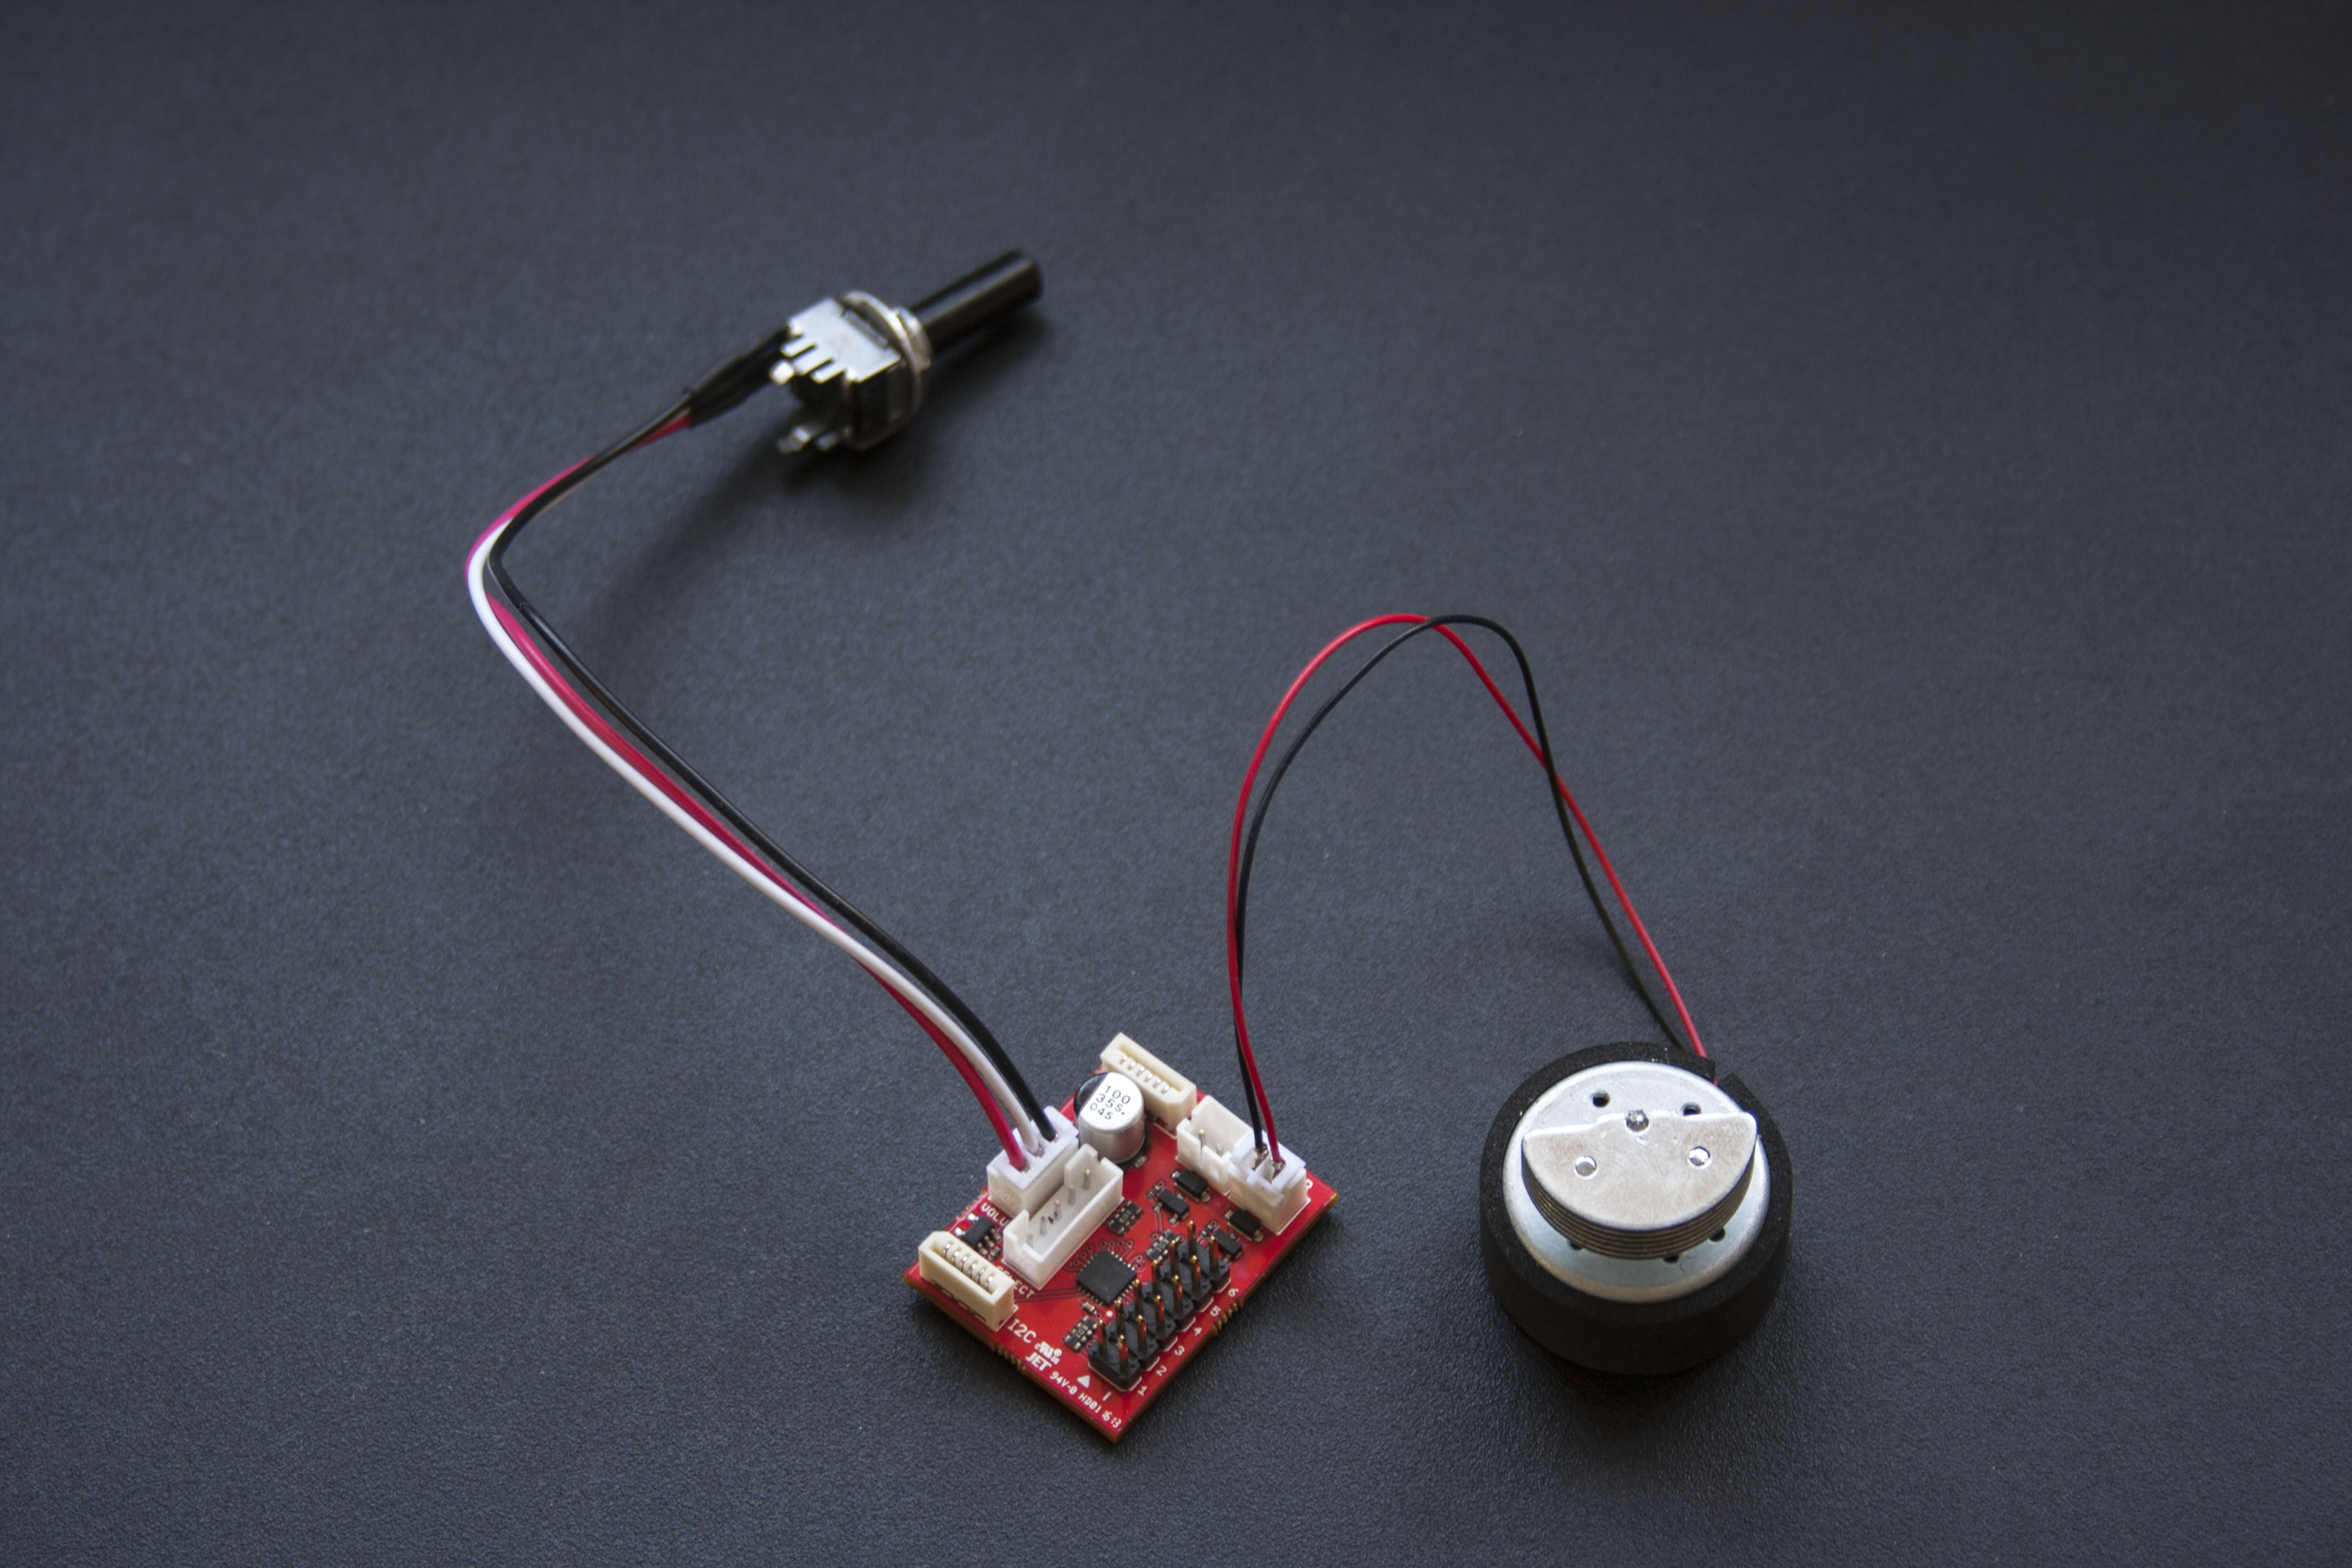
Finally, I’d like to draw your attention to the strobe at the front of the thrower.   You can see there’s some slack in the cable even with the switch module that it connects to all the way at the rear of the thrower so you can remove the tip and unplug it if need be.  The strobe should be placed flush against the rear of the acrylic tube, or the metal ring that holds it in place in the end of the handle.  It can be glued in place, or you can simply tape it in place, unless you have a tip extension mechanism in which case glue would probably be best.  For maximum brightness, make sure you don’t push the acrylic tube way into the handle with the strobe on the end of it.  You want the strobe to be as close to the end of the handle as possible, and that’s when it’s butted right up against that metal ring.

You may also have noticed the acrylic tube here is much shorter than usual.  Yours doesn’t need to be that short – that’s just how the owner of this pack likes it!

Oh, and the strobe is slightly smaller than the diameter of the acrylic tube, so if you have a tip extension mechanism with a metal tube that slips over the acrylic tube the strobe should fit inside it, no problem.

Positron Sneak Peek!

Hey guys,

The real demo will be coming Friday next Wednesday, but to tide you over till then I recorded a short clip showing off the Party Mode!

Apologies for the poor video quality; it was an overcast morning when I shot it and I didn’t want to waste too much time on this video when I would be shooting a new one in a couple days with the kit installed in a pack.

Positron – Cyclotron LEDs

Just a quick update to let you know that work on the Positron is progressing well, and I expect to release a video of it in action later this week!

In the meantime, here are some beauty shots of the new RGB LED cable for the color changing cyclotron:

IMG_3648 IMG_3647

And a shot of the vibration motor and volume pot:

IMG_3650

Note that the volume pot can be installed in the thrower or pack.  Here it is pictured connected to the thrower’s switch module.

If installing the volume pot in the thrower it will be up to you to figure out the knob arrangement for it.  You could for example install it in the knob next to the Clippard, but chances are you’ll have to shorten the plastic pot shaft and machine that knob to add a set screw.  And if you’re installing it on any of the side knobs, then the pot shaft would have to be really short.

It’ll be much easier to install the pot in the pack shell, either on the crank knob or motherboard.  I will be offering extension cables for it as well in case you need one.

Oh, and the vibration motor will come with a little adhesive mounting clip so it is easy to install.