Description
The best proton pack electronics kit available anywhere!
This kit includes several control modules, all the LEDs and switches you need, a 28 LED bargraph which is as close to movie accurate as you can get without spending a fortune, a color changing strobe with the same kind of high power Cree / Wolfspeed LED you’ll find in some of the world’s brightest flashlights, color changing cyclotron and slo-blo LEDs, a vibration motor, and a sturdy 7′ long CAT5 cable to connect the pack with the thrower!
Version 3.0 features the following:
- Sound effects from the movie and video game
- Color-changing super-bright strobe, cyclotron, and slo-blo LEDs
- More accurate 28 LED bargraph
- Vibration motor
- 40W amplifier w/ volume control
- Efficient integrated switching voltage regulator.
- All connectors and cables modified for easier installation.
- Music mode – Select tracks on bargraph using one button, start and stop them with another, or let the kit pick songs at random!
- Party mode – An optional mode where the cyclotron and powercell react to the music!
- And many other improvements!
Optional extras:
- Super-bright Grille Light. 10x as bright as a standard LED!
- Power switch + charge harness. No soldering required!
- An extra grille light can also be purchased to put in the N-Filter so it illuminates when venting!
(Please note: The gallery images with the black background are old, and some of them show optional extras like power switch + charge cables which are not included in the base kit! The speaker pictured is also not included.)
Instructions
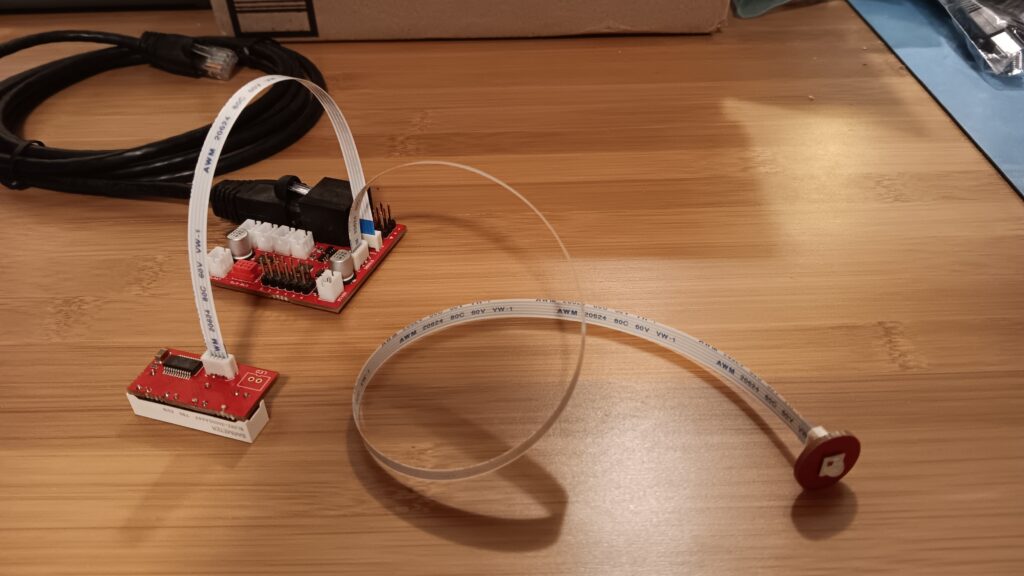
Flat Flex + Cat5 Cables
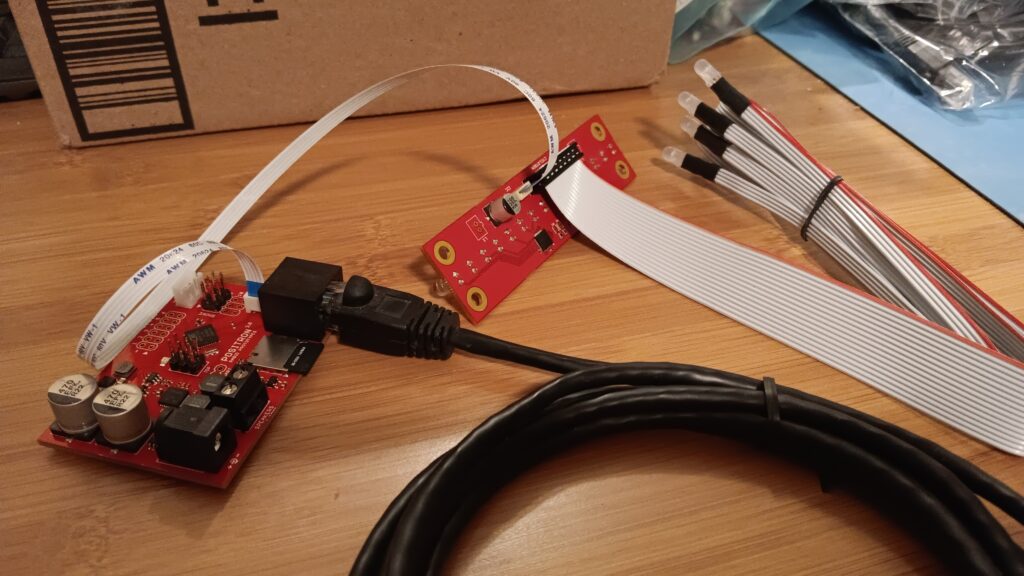
The Positron comes with three white flat flex cables. These are NOT interchangeable!
The longest of the three is for the main strobe. It has 5 pins. The remaning two are for the powercell and bargraph. Thease each have 4 pins. The shorter of the two is for the bargraph.
Do not connect or disconnect these cables or any other cables on the kit while the kit is powered up! Doing so will very likely damage the chips. This is true even for the Cat5 cable. This kit is not designed for hot plugging like a network adapter!
Also, if you accidentally plug the 4 pin bargraph cable into the 5 pin strobe connector on the thrower module and power up the kit, you could damage the bargraph, so check the labels on those connectors before you plug things in!
Main Strobe
Be very careful with the main strobe LED!
The beige connector on the back is surface mount, which means the only thing holding it to the board is the solder on the pads. Applying too much sideways force to it could tear the pads from the board and snap it right off!
The 5-pin flat flex cable should slide into the connector with very little effort. Just hold the PCB by the edge with one hand, and the blue taped portion of the cable with the other, and carefully push it straight into the slot. It does not lock in place, but the friction alone will hold it.
In fact, I reccomend you practice first by connecting the powercell or bargraph connectors, as those are all through-hole and thus more rugged!
Switches
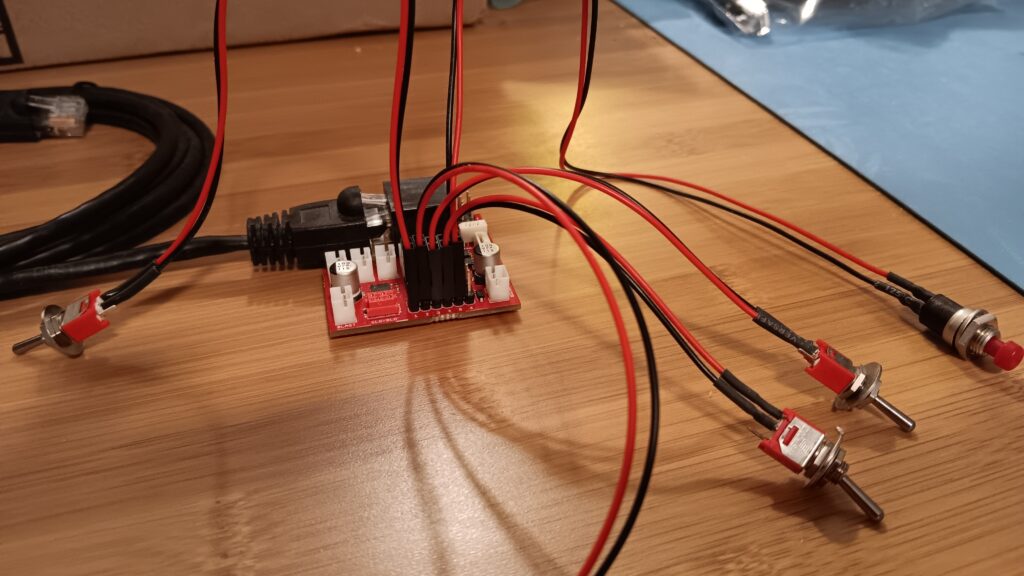
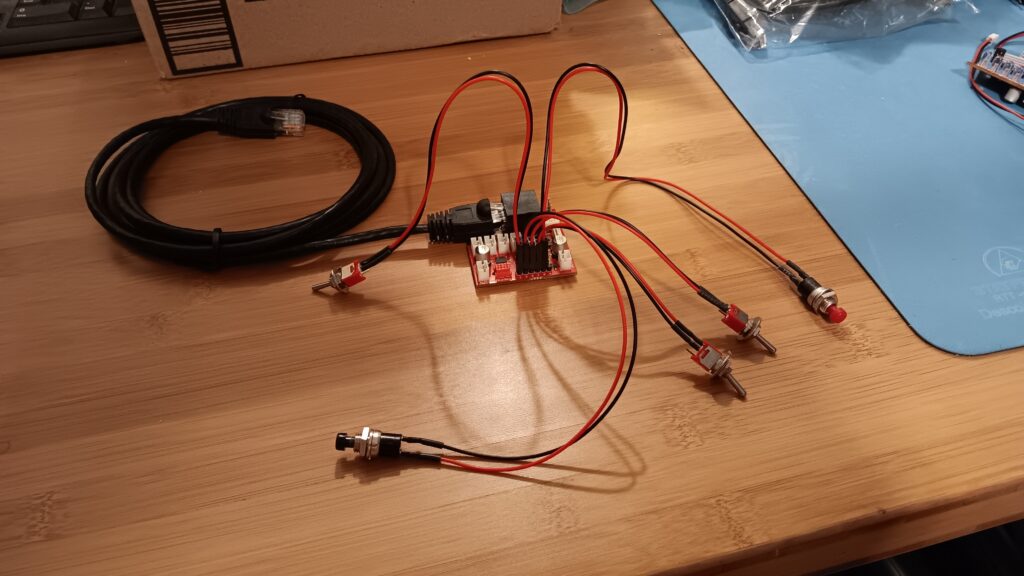
When connecting the switches to the switch module, polarity doesn’t matter. You can plug them in any which way!
The ports are assigned as follows:
- Activate – Long lead toggle on the left side of the thrower.
- Capture stream – Black button on the left side of the thrower.
- Grille – Short lead toggle near the top of the bargraph.
- Mode – Short lead toggle by the bottom of the bargraph.
- Blast steam – Red button on the ear at the tip of the thrower.
- Not used!
Flip the Activate switch to power up the thrower.
With the Grille switch in the off position, the thrower will be in standby mode. In standby mode, the LED to the left of the Clippard valve will blink slowly.
The Mode switch controls whether you are in movie mode or video game mode. Flip it on, and the slo-blo LED will come on and you’ll be in video game mode. The color of the slo-blo indicates which of the video game weapons is currently active. There are four to choose from:
- Proton Thrower (red)
- Stasis Stream (blue)
- Slime Blower (green)
- Meson Collider (yellow)
Push the black Capture stream button to cylcle through the different modes!
Once you have selected the mode you want, flip the Grille switch on, and you will now hear that weapon’s sound effects!
Flipping the Mode switch off will turn off the slo-blo LED and immediately take you back into movie proton thrower mode. If you then flip it back on again, you will be in video game Proton Thrower mode once more.
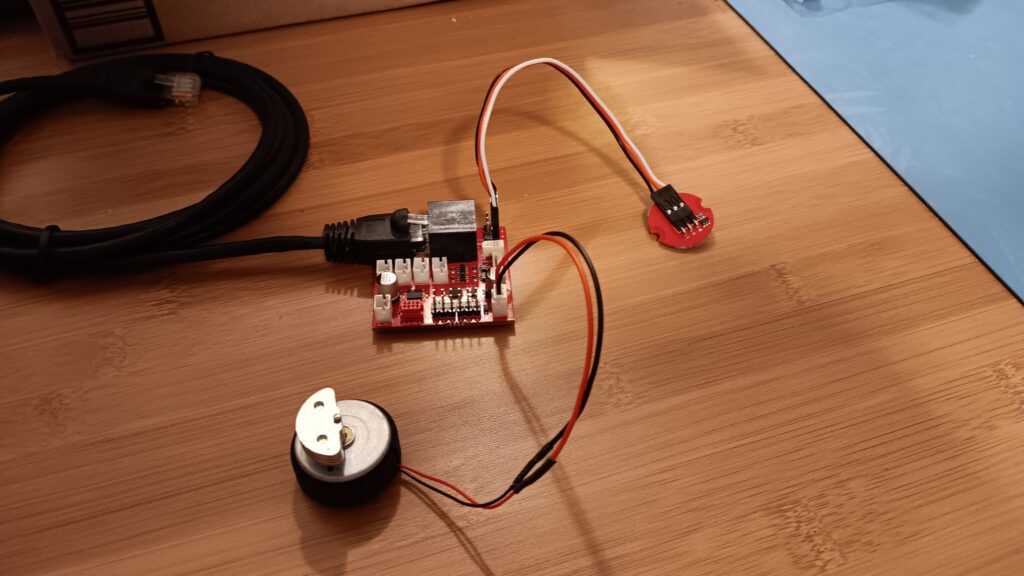
Vibration Motor
The kit includes a zip tie and adhesive mounting square which you should use to mount the vibration motor in the thrower. Place the motor vertically on the mounting square, and run the zip tie through the holes on the adhesive square base and up around the foam on the motor, then cinch it down tight!
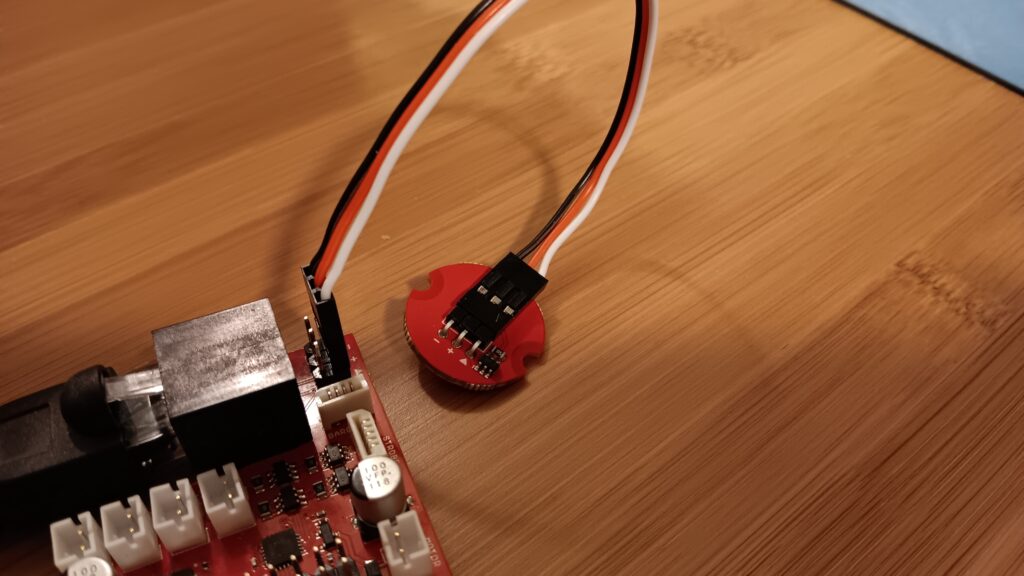
The connector for the vibration motor is the same as the LEDs, so make sure you plug it into the correct spot! The connector for it is placed away from all the LED connectors to reduce the risk of this.
If you have the vibration motor connected to an LED connector when you power up the kit, you could damage the LED driver chip, and if you have an LED plugged into the vibration motor connector when you power up the kit, the LED itself will burn out as there is no current limiting on those pins!
Volume Pot
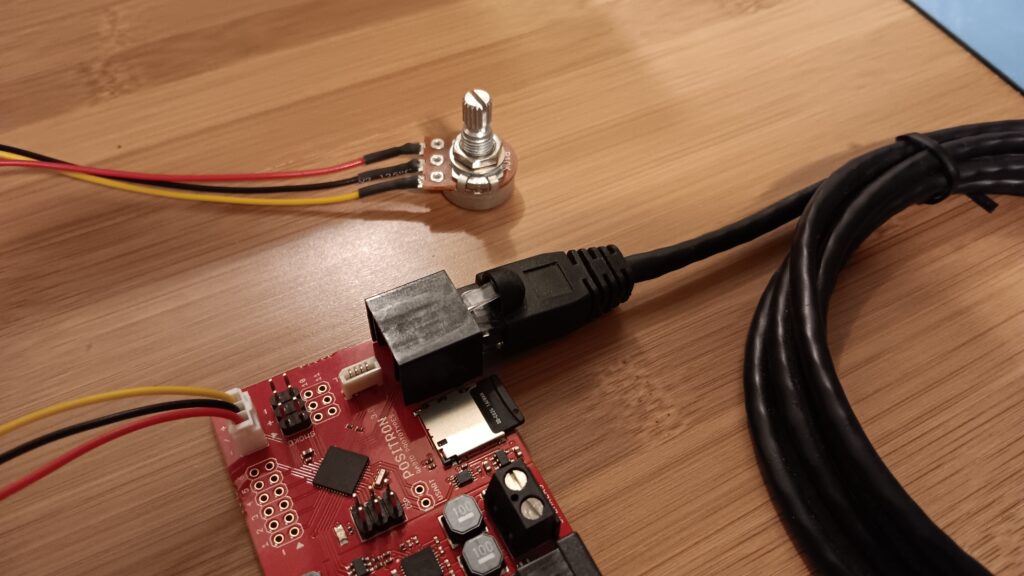
The volume pot connects to the Positron as seen here!
Powercell + Cyclotron LEDs
The powercell connects to the Positron like so. Note that the blue tape on the cable should be facing away from the visible contacts in the connectors.
Also note the cyclotron LED connector has a tab on it which goes into a hole on the powercell PCB. If you try to plug it in the wrong way you may snap the tab off!
Party Mode
In party mode the lights on the proton pack will react to the music!
To enter party mode, hold the red button while flipping on the thrower activate switch, then press the black button to advance to the next song, and the red button to start and stop the currently selected song.
You can enable and disable the sound reactive lights while in music mode by holding the red and black buttons, but BEWARE! The anguished stuffed bear won’t like it if you use this secret setting to disable party mode…
LEDs
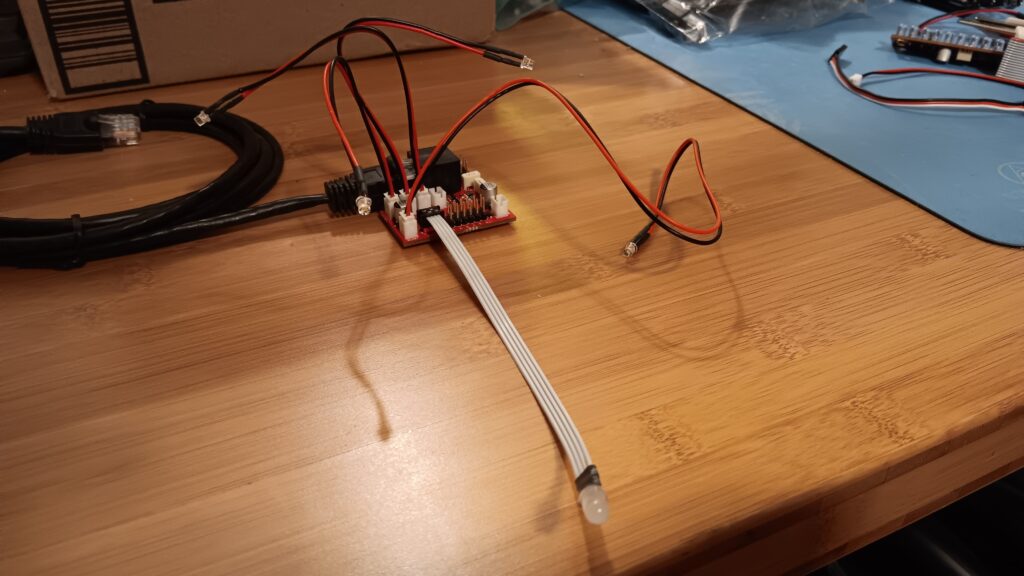
The LEDs should be arranged as follows:
‘Blast’ – This LED has a long lead and should be placed at the end of the thrower in the orange hat. It lights up when you fire the blast stream with the red button!
‘Standby’ – This LED sits inside a white hat to the left of the Clippard. It blinks slowly when the grille switch is off to indicate the thrower is in standby mode.
‘Capture’ – This LED should be placed above the Clippard in a clear 5mm lens. It blinks when firing the capture stream with the black button.
‘Overheat’ – This LED sits above the bargraph. Normally off, it blinks when the pack overheats, then remains solidly lit while venting is occurring.
‘Grille’ – If you didn’t buy the optional Super Bright Grille Light a fifth white LED will be provided to be used in its place, which you can connect here. It lights up when the thrower is ready to fire, and like the Super Grille, it flickers while firing for that extra bit of realism!
The Super Grille does NOT connect here. See its product page, or the image below for instructions on how to connect it.
‘Slo-blo’ – This RGB LED goes inside the clear 5mm lens at the base of the thrower. It illuminates when you flip the mode switch on, and changes color to indicate which video game weapon is currently selected!





atarax.htc (verified owner) –
I’m surprised there aren’t more reviews on here because this kit is fantastic. I don’t know that I could say enough great things about it. The installation is straight forward, the parts are manufactured well, and the programming is marvelous. It does so much more than anything else on the market and I’m looking forward to seeing the reactions of people who see it in action. My face lit up as soon as my pack came to life and I am smitten like I was the first time I saw a proton pack in the movies. If you’re hesitant, just do it. The investment is well worth the smiles and excitement!
gmoya90 (verified owner) –
Best Sound and Light kit anywhere Else! its so close to the movie sounds and so accurate. its a must buy if your building or upgrading your Lights and sound!
Eric (verified owner) –
Excellent light and sound kit for your proton pack. Connecting it all is pretty self-explanatory, and all the features included are awesome. Great customer service, too. I really can’t say enough good things about this kit!
jason.glisson (verified owner) –
You won’t find a better light and sound kit on the internet. You just won’t. This is well thought out, well designed, and well crafted. It’s very easy to setup and really looks fantastic once you’ve got it installed.
Here is a video of mine installed: https://photos.app.goo.gl/Noi1QLT2cW68YNmk7
Customer service is excellent. I had a light out on my bar graph and he replaced it quickly. He was also very responsive when I had questions.
Do yourself a favor and get this for your Proton Pack build.